1. The app icon/logo
The icon (also called logo) is the most important graphic of our app. With a size of 512×512 (Android), it is the graphic that will be displayed on our user’s screen when the app is installed. Also it’s the graphic that will identify your app in the the different App Stores such as Google Play.
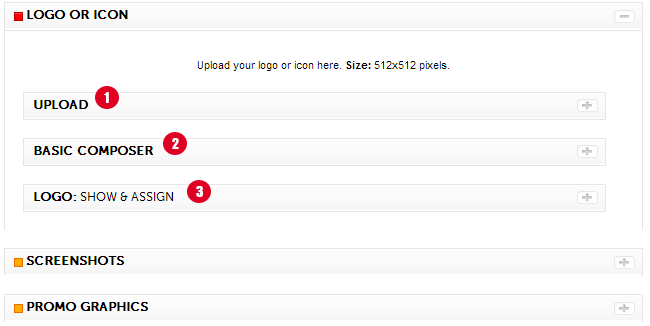
How can you do assign an icon to your app? We have different procedures for that.

1.1. Uploading your app icon
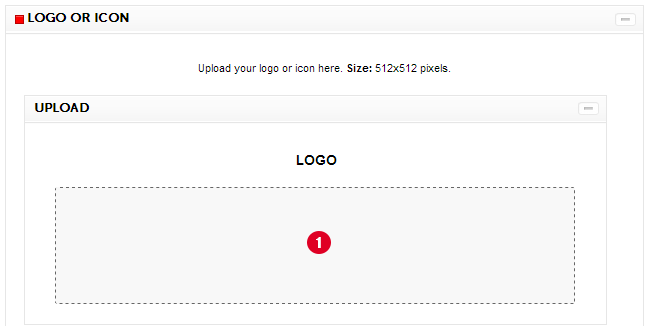
The easiest way to “fill this requirement” is to upload your already designed icon to our system. You must be sure that the icon has the correct size: 512×512 pixels. When you upload a logo (see image below), it will be automatically assigned to your app.

1.2. Creating your icon online
Our platform provides you with all the tools you need for you to create your icon online. Not all plans have this feature, but if it happens you have it activated you can compose your logo using both the Basic Composer (Fig.1.3.) or the advanced features in The Lab. More information coming soon.
2. App Screenshots
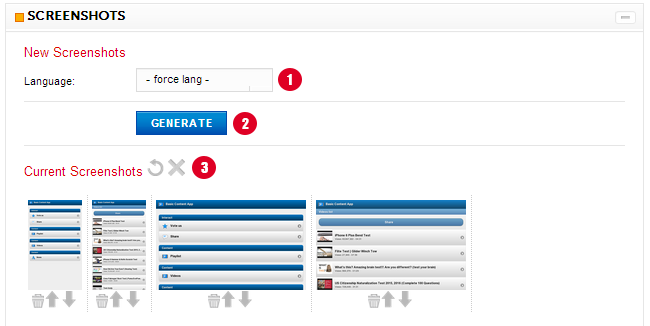
To publish your app to your respective App Stores, you will need to provide screenshots for your app. Our system provides a tool for you to generate screenshots with ease. You only need to click the Generate button (Fig. 3.2) and a set of random screenshots will be generated. You can try to force the language for these screens selecting your language code from the dropdown menu (Fig. 3.1.). By default the screenshots are generated in English. When done the screenshots will be displayed on Fig. 3.3.
Notes:
- You can set the sizes and the number of these screenshot on the Advanced Config section of the panel.
- For more advanced features please use the generator in The Lab.
- Using these tools to generate the screens will provide you screenshots in the correct sizes for all different platforms and stores.

3. The app Featured/Promo Graphics
Coming soon.
